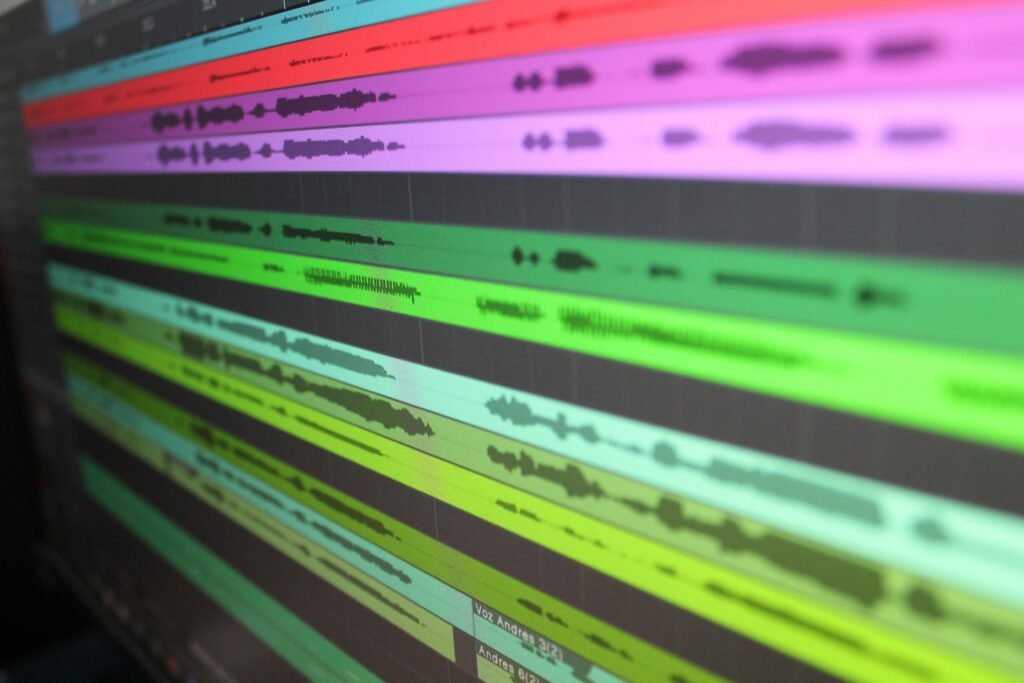
For our first Grizzly Audio sample pack, Origins, we captured many of the source recordings at 192 kHz and maintained that sample rate throughout the designing and mixing process. Recording at 192 kHz is a topic that sparks debate among audio professionals, so in this article I’m going to run through some of the reasons I use it, how to adapt your workflow, and also some of the downsides.
My use case is strictly related to sound design, which I believe is the area where high sample rates can make the most substantial difference.
192 kHz – The Pros
Time-Stretching / Pitch-Shifting
If you record your source sounds at a more typical sample rate — say, 48 kHz — and then pitch-shift that sound down one octave, the frequency content is halved. A 1 kHz tone becomes 500 Hz, and a 10 kHz harmonic becomes 5 kHz.
This results in a loss of fidelity, mainly due to the reduced frequency range. Before pitch-shifting, your recording likely had content from 0 Hz to 20–22 kHz (depending on the microphone used). After the shift, the content is now 0 Hz to ~10–11 kHz, meaning you’ve effectively discarded the upper half of the spectrum. While no data is technically lost, the perceived brightness and clarity are reduced — the sound feels darker or more muffled.
The same sound recorded at 192 kHz also has its frequency content halved when pitch-shifted down an octave, but since we’re capturing much higher starting frequencies (i.e., ultrasonic content), there’s a major difference. For example, 60 kHz becomes 30 kHz, and 20 kHz becomes 10 kHz. This ultrasonic content moves into the audible range (0–20 kHz), improving perceived detail because the upper frequency energy is still present.
This example only covers a -1 octave shift, but many of the joys of sound design involve pitch-shifting by multiple octaves — and that’s where using a 192 kHz sample rate really helps retain clarity in the upper registers.
DAW Plugin Use
Another benefit of 192 kHz is how some plugins behave. Advantages include:
- Improved DSP accuracy
- More accurate time-domain effects
- Oversampling becoming more effective — or sometimes unnecessary
That said, this is another rabbit hole with a lot of variables depending on the plugin, so I’ll save that discussion for another time.
The 192 kHz Workflow
Microphone Selection
So, what do you need for a 192 kHz workflow? Beyond choosing a sound source (more on that later), it all starts with your microphone. To record effectively at 192 kHz, you’ll want a mic that can capture ultrasonic frequencies (above the range of human hearing).
It’s a tricky selection — some mics are purpose-built for this task, while others just happen to be capable. Most microphones advertise a frequency response similar to human hearing (20 Hz to 20 kHz), but some, like the Sanken CO-100K, extend up to 100 kHz. Be aware, though, that some mics will technically record ultrasonic content, but the noise floor may render those frequencies practically unusable.
Audio Interface
Next is the audio interface. You’ll need one that supports a 192 kHz sample rate. In the studio, I use the RME UFX+, and for mobile work, the Zoom F3.
DAW and Mixing
Make sure your DAW session is set up for 192 kHz from the start. I keep all my source recordings and sound design sessions in this format. However, I usually export the final versions at 48 kHz, once all processing is complete. I also work in 32-bit float for maximum dynamic range.
Sound Source
All these requirements above may vary depending on what it is you are recording and you should consider what it is in your source sound you’re looking to capture. Some sounds won’t have much in the ultrasonic range worth bringing into hearing range but others might surprise you!
192 kHz – The Cons
Now, for the downsides — and yes, there are a few to consider, especially during mixing and processing.
- File Size
At 192 kHz, WAV files are 4× larger than those at 48 kHz. This probably isn’t a huge concern in a studio environment, but it can become a challenge when recording in the field — especially for long ambiences or drones, using a laptop and portable recorder setup. - CPU and System Load
Working at 192 kHz demands significantly more processing power, particularly on the CPU. You may need to increase your audio interface’s buffer size to maintain stability. Some plugins may even struggle or break when processing audio at 192 kHz.
Final Thoughts
Using 192 kHz isn’t always necessary — but for experimental sound design, extreme pitch shifting, and retaining high-frequency detail, it can make a noticeable difference. The key is knowing when and how to use it effectively, and making sure your workflow is equipped to handle it.

